Explain verification limits
A construction proposal is not the same as a field measured acoustic performance report. If a particular rating is required, discuss suitable design input and testing with an acoustic professional. If scheduling is the main concern, separate hands on labor from drying intervals instead of treating every visit as a full day of active work.
Include flanking paths
Sound can travel around a treated wall through ceilings, floors and adjoining partitions. Review those flanking routes when explaining why a single wall treatment may provide only part of the solution. When concealed damage is possible, establish how additional findings and any proposed removal will be recorded before the scope changes.
Consider cavity access
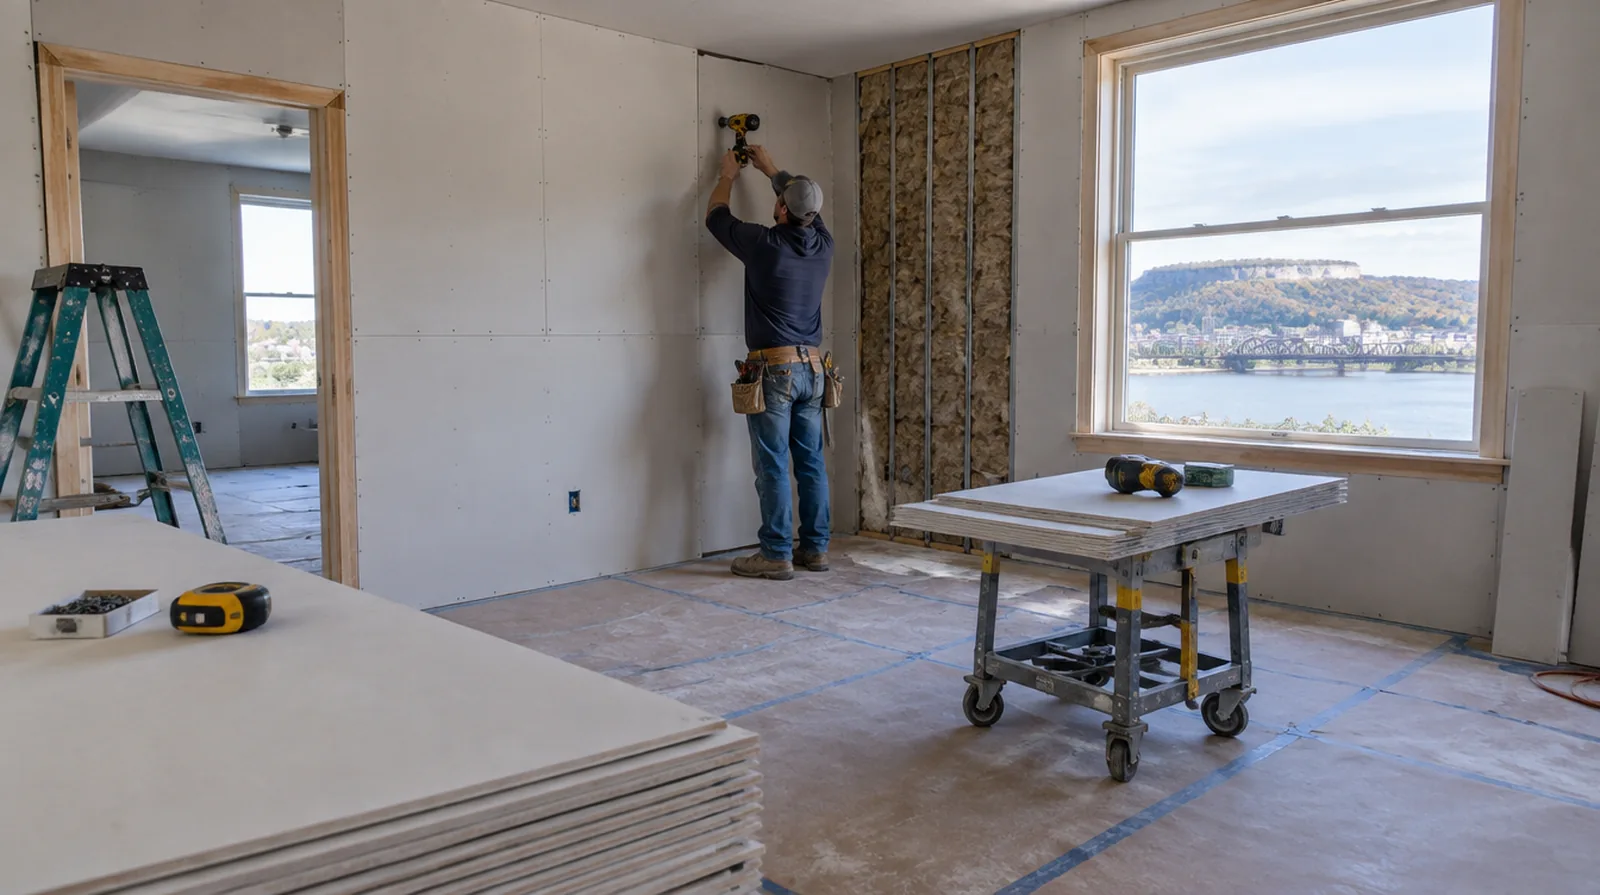
A wall already open for remodeling provides options that an intact occupied room may not. The estimate should explain what needs removal and how the space will be restored afterward. Where flooring is staying in place, agree on protective coverings and check that tools and material handling will not damage the visible finish.
Finish the visible surface
The room side of an acoustic installation still needs appropriate taping, finishing and coating preparation. The specified sound control details should remain intact while the visible face is made ready for decoration. When painting is outside the proposal, describe the remaining decorative preparation clearly so another contractor can price that stage accurately.
Identify the noise path
Voices passing through a shared wall are different from footsteps transmitted through a floor structure. Different transmission paths call for differing assessments before a wall treatment is selected. If the coating stability is unclear, assess which layers are adequately bonded and which should be removed rather than simply hidden beneath new material.
Respect fire requirements
Sound control modifications must not undermine required fire separation. Verify compatible materials and details before adding layers or modifying the cavity. For a tightly furnished room, plan temporary storage and the minimum working clearance before material is carried into the property.
Avoid rigid bridges
Resilient components can lose effectiveness when fasteners or fittings create unintended solid connections. Check fastener and attachment details against the system guidance rather than judging only the visible wall. If the coating stability is unclear, assess which layers are adequately bonded and which ought to be removed rather than simply hidden beneath new material.
Set realistic goals
Adding board alone does not guarantee a quiet room when sound travels through doors or adjoining cavities. Discuss the expected improvement without treating a single material as a complete solution. For a limited patch requiring substantial setup, assess the complete package of access and protection rather than relating cost only to the opening size.
Coordinate electrical boxes
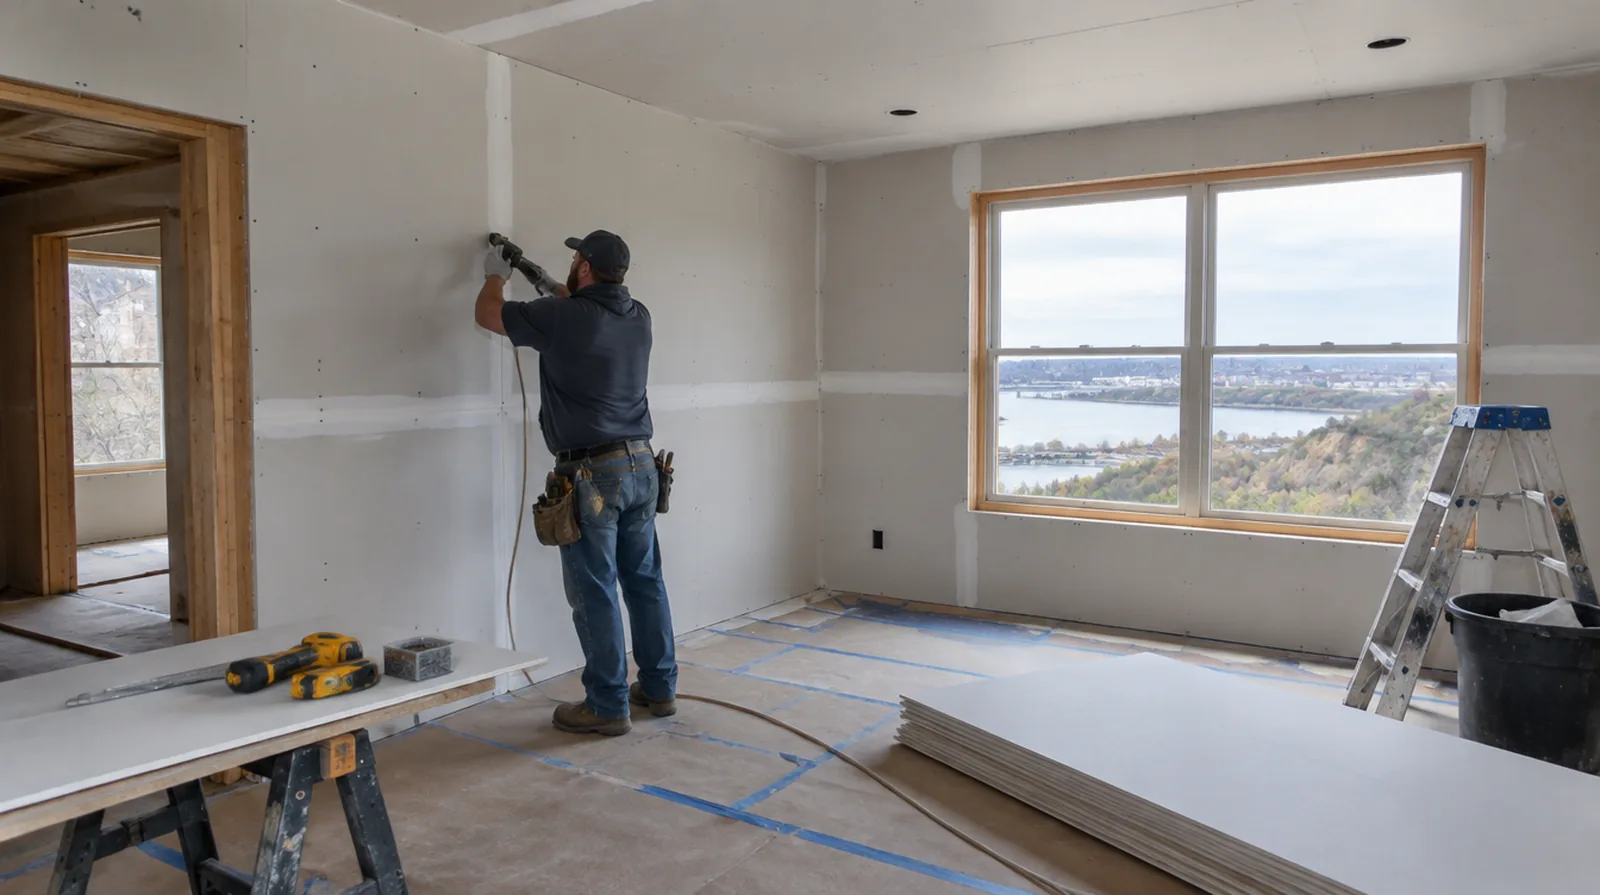
Electrical openings can become acoustic weak points, notably where boxes align on opposite faces. Coordinate any changes with the electrical trade and preserve the requirements of the complete assembly. For walls beside bright windows, review a dry sample from an oblique angle as well as looking straight at the repaired surface.
Evaluate added thickness
Additional board layers may influence trim, outlets and the clear dimensions around doors. Include those interfaces in the scope so acoustic work does not leave unfinished perimeter details. For a project involving a building manager, confirm access hours and protection requirements before promising a start date or a short completion window.
Project context in Sioux City
A crack that keeps returning in a Sioux City home usually needs to be taped rather than filled again. Dakota Dunes and newer east side homes often have smooth walls that show patch edges clearly.
Scope questions before finishing
When the wall has strong reflected light, look at the full plane rather than judging only the narrow strip immediately beside the patch.
For a surface that will receive wall covering, share the product requirements early so the finishing stage supports the planned decorative treatment.
Where existing floors will remain, specify protective measures and review the path used by panels, equipment and finishing tools.
If the problem developed after another renovation, explain which nearby materials or building systems changed before the damage became visible.
At an edge beside built in furniture, state whether the obstruction will be removed or whether finishing stops at the section that can be reached.
When photographs are used for an initial discussion, include a wide room view as well as a close view so scale and surrounding finishes are understandable.
For work spread across distinct planes, record their dimensions separately and describe the boundary of the treatment on each surface.
If the decorative coating is already chosen, share its sheen and color early because those choices influence how substrate preparation is judged.
When more damage could be hidden, ask how any added scope will be documented before extra material is removed or replaced.
Where a surface has been painted many times, consider whether differences in texture or sheen will require a wider decorative treatment.
For a planned new wall mounted fixture, resolve its backing requirements while the cavity remains open instead of cutting into completed drywall later.
When comparing competing estimates, make sure their protection, surface finish and disposal allowances describe equivalent work before comparing the final prices.
Explore the Sioux City drywall overview for related options, or read the project planning information before arranging the next stage.
More planning details for Sioux City
Icy winter steps mean material deliveries should be planned for a cleared and safe path. Forced-air heat dries Sioux City homes in winter and can open seams on upper floors. Older homes in Rose Hill often have plaster walls that need careful blending with new board.