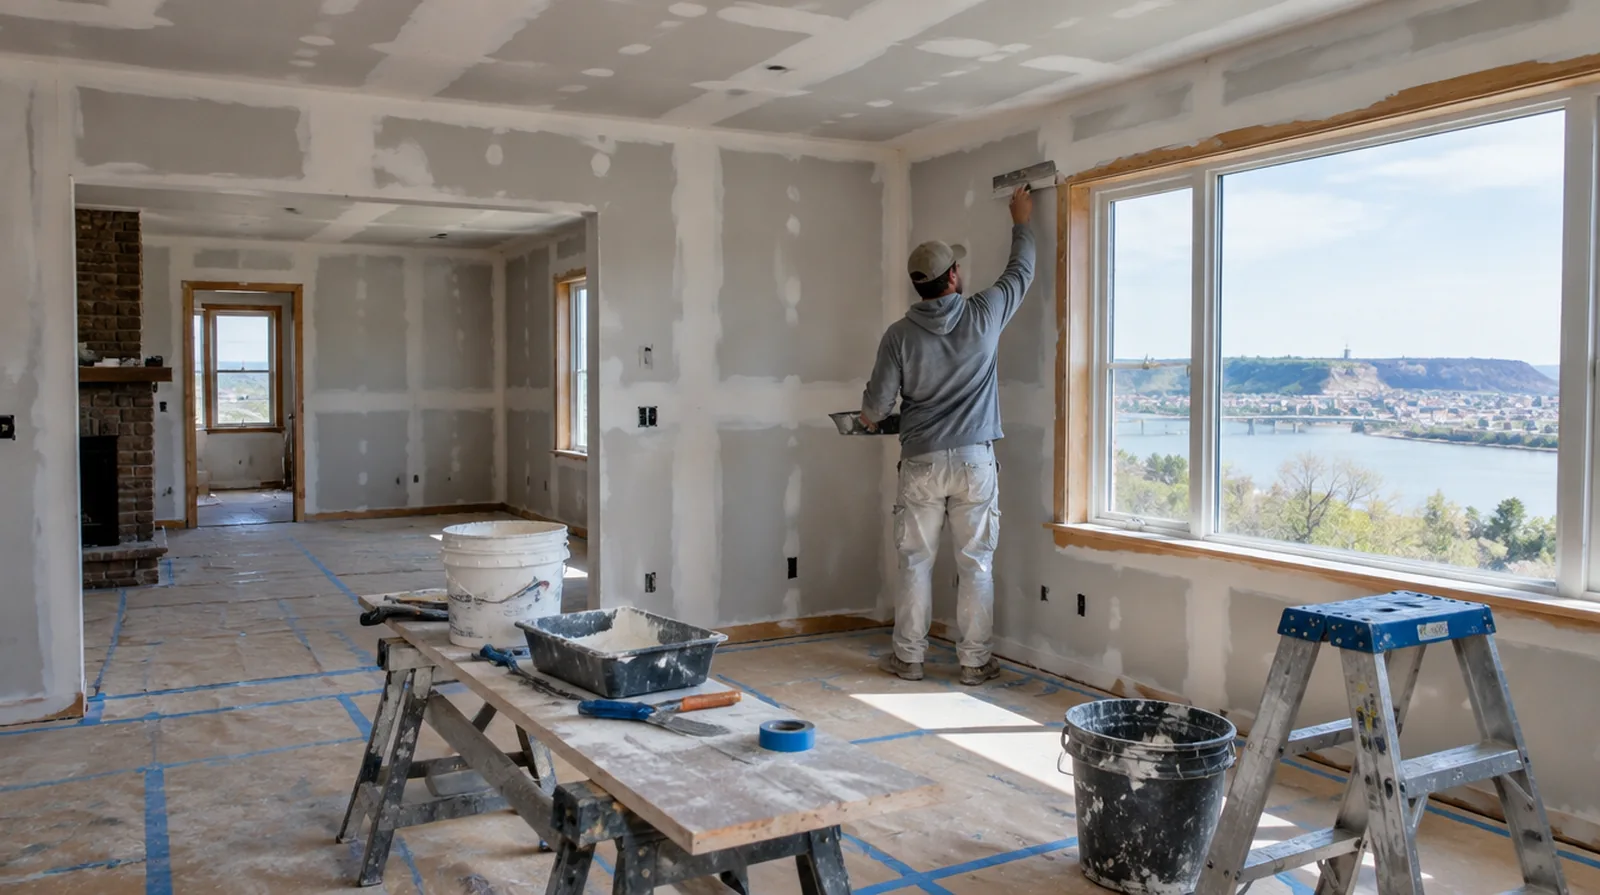
Choose joint materials
Joint bedding and the last surface coats do not necessarily call for identical products. Selection should reflect joint type, conditions within the room and the manufacturer guidance rather than convenience alone. For a wall receiving a decorative covering, provide its preparation requirements early enough for the drywall finish to support that product.
Cover fastener heads
Fill fastener depressions level with the surrounding face without creating unnecessary mounds. Adjust any projecting or paper breaking screw before applying material over the location. At a repair beside an opening, allow clearance for moving board through the doorway and space to use the finishing tools effectively.
Use controlled sanding
Use sanding to refine minor imperfections rather than reshape an unnecessarily heavy joint. Dust management remains necessary even when only a limited number of seams are being finished. For a limited patch requiring substantial setup, assess the complete package of access and protection rather than relating cost only to the opening size.
Allow genuine drying time
Do not judge a coat ready solely because its outer face appears firm. The drying interval changes with indoor humidity, temperature and the available movement of air. For an older repair with no clear history, describe when the mark first appeared and whether it has changed through more than one season.
Coordinate with the painter
Primer could reveal small imperfections that were challenging to see on the raw white surface. Establish responsibility for those final adjustments and any review after priming before the work starts. Where light reflects along the wall, inspect the complete plane instead of limiting the review to the edge immediately next to the repaired section.
Consider a skim layer
Broad grazing light can reveal a difference in texture between the paper face and finished joints. A suitable skim treatment can help create a more uniform surface when the specification calls for it. If an independent painter completes decoration, agree the condition of the handed over surface and assign responsibility for small final corrections.
Keep external corners straight
Corner bead provides a consistent line but needs secure installation and sufficient compound coverage. Resolve distortion or damage to the bead before successive coats make correction more demanding. For an initial assessment from pictures, provide an overall room photograph and a detailed view of the defect so both context and scale are apparent.
Build the seam gradually
Make later joint coats progressively broader so the transition becomes less abrupt. Square cut sheet ends need particular care because they do not offer the recess of tapered factory edges. If the original finish is unusual, keep a small reference sample or a close photograph to support the discussion about blending and restoration.
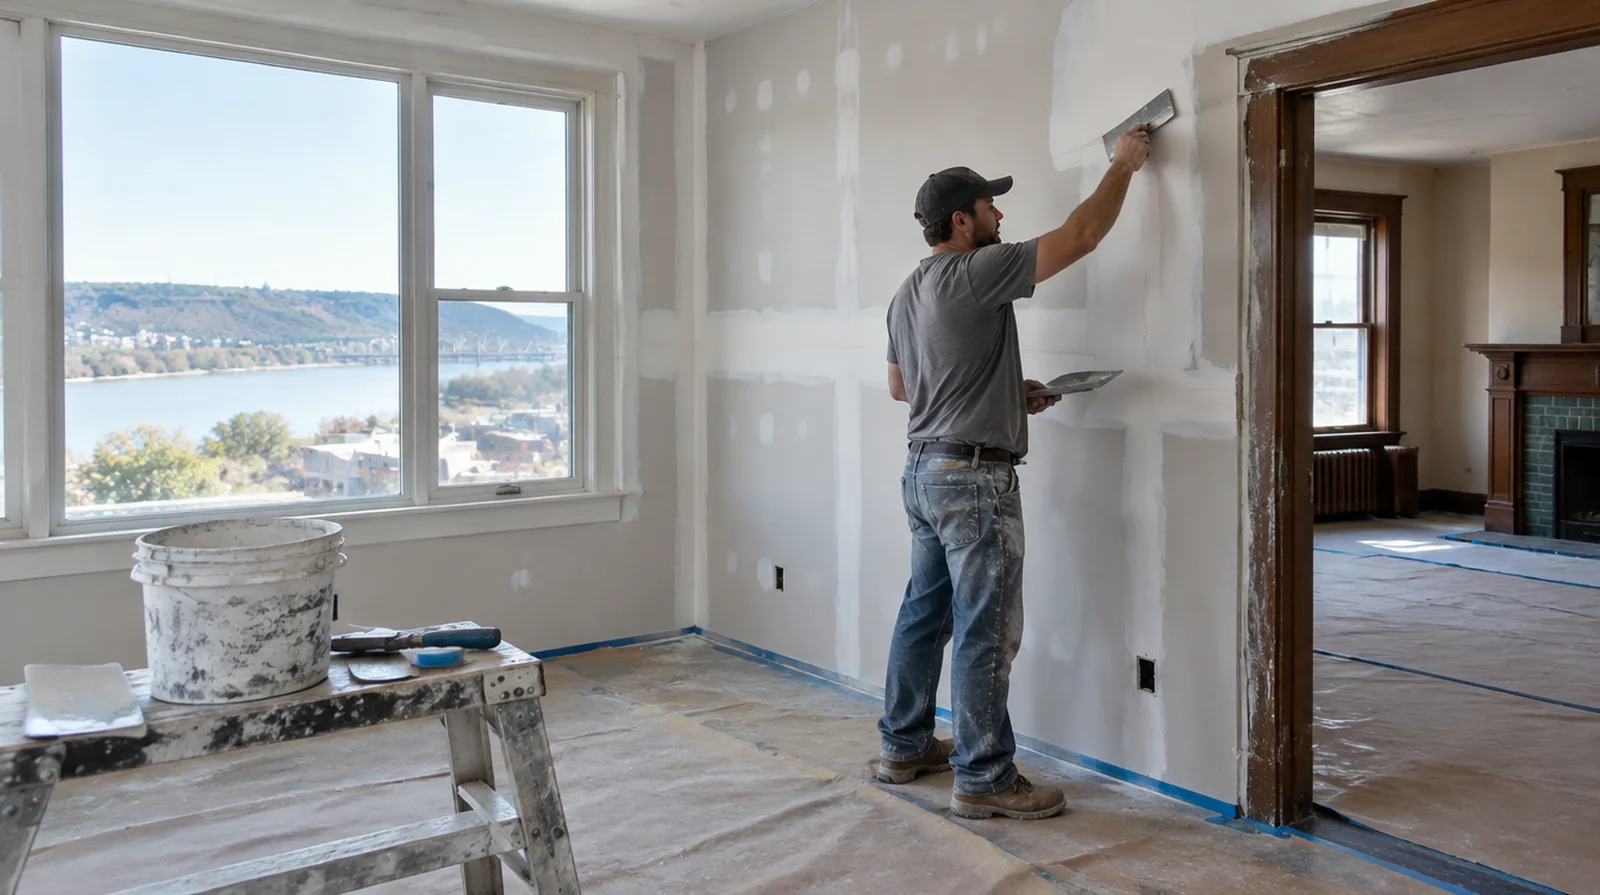
Assess the hung board
Misaligned panels or unsupported joints need attention before the finishing layers can perform properly. Check how the sheets sit and how the fixings hold them instead of beginning with compound immediately. When concealed damage is possible, establish how additional findings and any proposed removal will be recorded before the scope changes.
Embed the tape
Tape needs a properly bonded bedding coat underneath its full length. At an internal angle, form a clean crease and finish both sides without leaving unsupported edges. When the history of a repair is uncertain, note when it became noticeable and whether its appearance has altered across different seasons.
Project context in Sioux City
Steep streets and long front steps in Sioux City can make carrying board the slowest part of the job. Painting the full wall after a crack repair helps hide the transition in older homes.
Scope questions before finishing
In a room with little free floor space, identify temporary storage for belongings and establish enough clearance for the work before delivery.
When building management controls access, agree delivery hours and common area protection before committing to a start or finish date.
At a surface receiving strong window light, review a dried trial from the side in addition to the normal straight view of the wall surface.
For a wall receiving a decorative covering, provide its preparation requirements early enough for the drywall finish to support that product.
If the original finish is unusual, keep a small reference sample or a close photograph to support the discussion about blending and restoration.
If the problem developed after another renovation, explain which nearby materials or building systems changed before the damage became visible.
When a wall has repeated defects, keep a record of earlier repair attempts so a new assessment does not simply repeat an unsuccessful approach.
Where a future fixture will be installed, coordinate any required backing while the cavity is accessible instead of reopening the completed wall.
Where a finished perimeter is prominent, decide whether trim stays in position or is removed before agreeing how the new surface meets that edge.
If materials must cross common building areas, plan the protection and access route so other occupants are not needlessly obstructed by deliveries.
When the history of a repair is uncertain, note when it became visible and whether its appearance has altered across differing seasons.
If a household member is sensitive to dust, discuss containment and cleaning expectations before choosing how to stage the space work.
Explore the Sioux City drywall overview for related options, or read the project planning information before arranging the next stage.
More planning details for Sioux City
Dakota Dunes and newer east side homes often have smooth walls that show patch edges clearly. Icy winter steps mean material deliveries should be planned for a cleared and safe path. Forced-air heat dries Sioux City homes in winter and can open seams on upper floors.